Happy Birthday Mom! When asked by her grandson, “Grandma, what is your favorite kind of cake?” She replied, “One that can’t ever be replicated.” To which he replied, “Well, then, why don’t you pick one that can?” Carrot cake was her answer. Carrot cake with cream cheese frosting, a good ole stand-by. So I went searching through my stacks and piles of cookbooks, getting distracted every few minutes, because I would come across another recipe I wanted to make, I struck gold!

I found the recipe, Carrot Cake with Lime Mascarpone Icing, in Jamie Oliver’s “Cook with Jamie” cookbook. Let’s just say, that I love Jamie Oliver just as much as I love Nigella Lawson. His cookbooks are things of beauty. The books are filled with beautiful photos, easy to read recipes and the stories and descriptions in the books can be read like a novel. “Cook with Jamie”, is an outstanding cookbook. It was one of the cookbooks that I had only looked at and when I opened the cover it still made that cracking noise that new books made. Now it has a page in the book that is a bit more crinkled then the others. I think I am missing just one of Jamie’s cookbooks. Remind me to put it on my wish list.
Well you can’t have cake with out ice cream, at least I can’t. So the hunt was on for a perfect accompaniment to carrot cake. I purchased an ice cream maker last year and of course have only made ice cream twice in it. So it was time to dust it off. While hunting for carrot cake, I found in Nigella Lawson’s cookbook “Forever Summer”, a delicious recipe for cheesecake ice cream. That fits right?! Carrot cake with lime mascarpone ice and cheesecake ice cream, sounds like the perfect gift for my mother. She loved every bite.
Oh! As to the cake that my mother mentioned that can’t be replicated, it was a cake that her grandma had made her. I don’t know what kind of flavor the cake was, it was just the special cake that her grandmother made her for birthday.
Carrot Cake with Lime Mascarpone Icing
This is a very dense cake. I had to adjust the cooking time. Oh and another quick note! My camera decided to take everything with a blue tint. AHHHH!
1½ cups butter, softened
2 cups light brown soft sugar
5 large eggs, separated
Zest and juice of 1 orange
1 ½ cups self-rising flour
1 slightly heaped teaspoon baking powder
1 cup ground almonds
4 oz shelled walnuts, chopped, plus a handful more for serving
1 heaped teaspoon ground cinnamon
A pinch of ground cloves
A pinch of ground nutmeg
½ teaspoon ground ginger
10oz carrots, peeled and coarsely grated
A pinch of salt
- Preheat the oven to 350 degrees.
- Grease and line a 9-inch square or circle cake pan. I don’t have either of those so I used my spring form pan. I just greased and floured the bottom and the sides. Jamie recommends using wax paper to cover.
- Beat the butter and sugar together until light and fluffy, by hand or in a food processor. I used my hand mixer.
- Beat in the egg yolks one by one until each one is incorporated.
- Mix in the orange juice and zest.
- Stir in the sifted flour and baking powder
- Add the ground almonds, walnuts, spices and grated carrot and mix well together.
- In a separate bowl, using a hand mixer, whip the egg whites with a pinch of salt until stiff.
- Fold the egg whites gently into the cake mix.
- Pour the mixture into prepared pan and bake in the preheated oven for 50 minutes. My time was actually, 1 hour and 15 minutes.
- Check to see if the cake is done by sticking a toothpick in it.
- Leave the cake to cool in the pan for 10 minutes.
- Turn the cake out and let it rest before frosting at least 1 hour.

Lime Mascarpone Icing
8oz mascarpone cheese
8oz cream cheese
1 cup of powdered sugar
Zest and juice of two limes
Mix all the icing ingredients together and spread generously over the top of the cake. Finish off with a sprinkling of chopped walnuts.
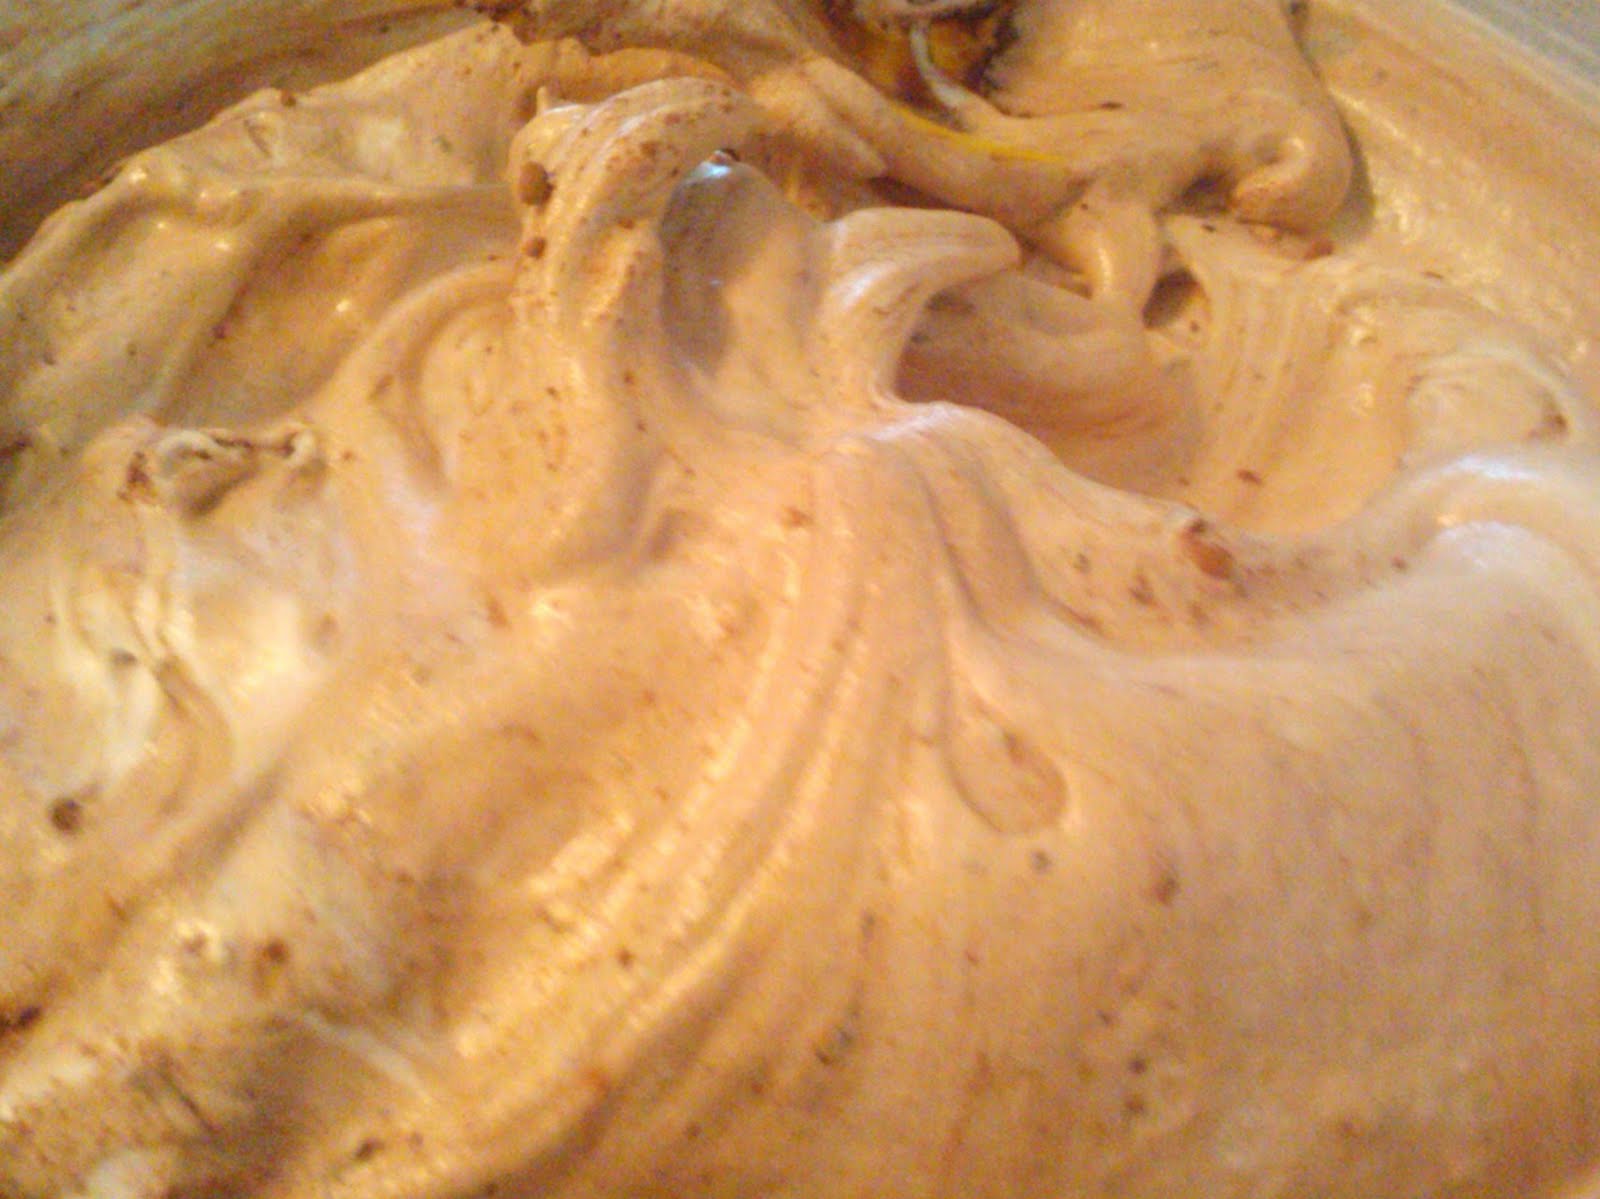
Cheesecake Ice Cream
I know owning an ice cream maker is a luxury. If you don’t have one, I am very sorry. Please ask for one for Christmas or your birthday. Ice cream can also be very intimidating to make, just be patient it will come in practice. I am still practicing.
¾ cup whole milk
¾ cup granulated sugar
4 ounces cream cheese
½ teaspoon pure vanilla extract
1 egg
Juice of half a lemon
1 ½ cup heavy cream
2 graham crackers, crumbled.
- Heat the milk in a pan.
- While the milk is warming, beat together the sugar, cream cheese, vanilla and egg in a bowl.
- Watch the milk! When you see tiny bubbles appearing along the inside of the pan it is ready to pour over the cream cheese mixture.
- While you are whisking slowly pour the hot milk into the cream cheese until it is incorporated. You have to do this step slowly or you will end up with little bits of scrambled egg.
- Pour the mixture back into the pan and place it on the stove.
- Bring the ice cream base mix back up to a low boil and stir contiuously until the mixture is thick enough to coat the back of a spoon.
- Pour into a bowl and let it cool.
- Add the lemon juice and the heavy cream.
- Follow the instructions on the ice cream maker a freeze.
- Just before the ice cream is set, add the graham cracker crumbs and pour into a bowl and freeze in the freezer for 4 hours.


.jpg)
.jpg)
.jpg)
.jpg)
.jpg)
.jpg)

.jpg)
.jpg)
.jpg)
.jpg)
.jpg)
.jpg)
